Time:2024-09-06 Views:0

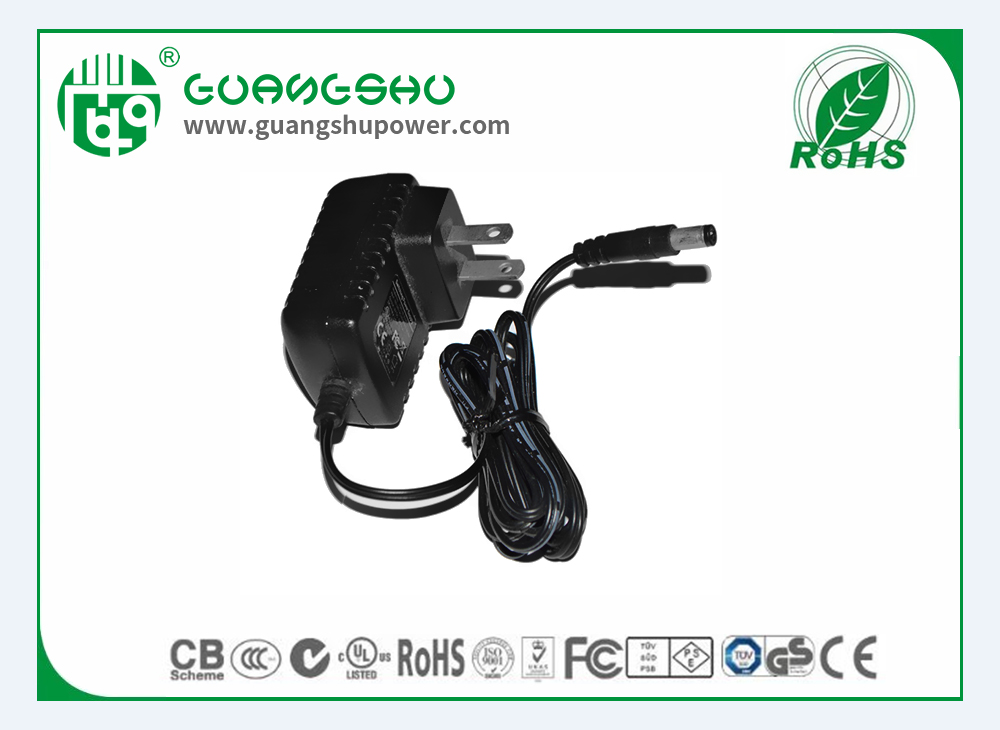
How to disassemble a power adapter, four steps to disassemble a power adapter
The upper and lower covers of the power adapter are injection molded or glued together without the need for any screws, so they can only be cracked by violent means. However, as long as the method is appropriate, the removed power adapter can be fully restored to its original state. If not carefully observed, there are almost no signs of disassembly.
2. Place the horizontal side of the power adapter on a white paper, use an electrician's blade to cut along the gap between the upper and lower covers of the power adapter, and then use a hammer to strike the back of the electrician's blade, cutting the electrician's blade between the upper and lower covers of the adapter. Use an electrician's knife tip to move along the gap between the upper and lower covers of the adapter at different positions. When a part of the upper and lower covers begins to crack, slowly separate the upper and lower covers of the adapter.
3. Then turn on the power adapter of the casing. You can see that there is a copper shielding layer outside the adapter circuit. Cut the tape on the shielding layer with an art knife, and then use an electric soldering iron to solder the two solder joints between the shielding layer and the internal circuit board to remove the shielding layer.
There is also a thick layer of hard plastic film between the shielding layer and the circuit board, which can be cut with an artistic knife.
Read recommendations:
12W European standard Switching power supply
Switching power supply supplier
Is it okay to keep the car charger plugged in and not unplugged